Sunday, December 04, 2011

Mini-Hat #4- Decoration/Gift Bag Crochet Pattern


CROCHET VERSION by Elizabeth Mareno
**Great for beginners to practice stitches and color changes**

Needed:
Small amounts of WW yarn. (Used RHSS Turqua and Lavender)
G hook
Large eye needle for assembly

Stitches Used:
sl st, ch, sc, dc, sc dec, fpdc, bpdc
*fpdc- yo,insert hook from front to back around the post of the stitch
below, yo, pull through, finish like dc
*bpdc- yo, keeping RS facing you, insert hook from back to front around the
post of the stitch below, yo, pull through, finish like dc.

RIBBING:
with G hook and "Ribbing" color- in this case Turqua
1- Ch 36, dc in 3rd ch from hook and each of remaining ch's.
2- (RS) ch2, turn, (fpdc around next dc, bpdc around next dc) repeat to end
of row. Yes, bpdc around the chains at the very end of the row. Cut ribbing
color and tie off.

BODY:
with G hook and first color- in this case Turqua
1- with RS facing you, join with a sc to the top of the ch 2 from previous
row, sc in each dc across.
2- ch1, turn, sc in each sc across.
**drop first color DO NOT CUT Join second color.
3- ch1, turn, (sc in 2sc, ch2, sk 2sc) repeat 4 times, ch2, sk 2sc, sc in 3sc, (ch2, sk 2sc, sc in 2sc) repeat to end (19sc, 8-ch2 spc)
4- repeat row 3.
drop second color DO NOT CUT pick up first color from the side and join.
5- ch1, turn, (sc in 2sc, dc in next open sc 3 rows below) repeat across putting a sc in each sc and dc in open sc 3 rows below.
6- ch1, turn, sc in each sc and dc across.**
drop first color, pick up second color from the side and join.
7- ch3, turn, sk first 2sc, sc in next 2sc, (ch2, sk 2sc, sc in 2sc) repeat 3 times, ch3, sk 3, sc in 2sc, Repeat () 3 times, leave rem 2 sc undone. (16sc, 2 ch3 spc, 6 ch2 spc)
8- ch1, turn, (sc in 2sc, ch2, sk 2sc) 3 times, sc in 2, ch3, sk3, (sc in 2sc, ch2, sk2) 3 times, sc in 2, ch2, sl hook into 1st ch of original ch3 of row 7.
drop second color, pick up first color
9- ch2, turn, (dc in open sc from 3 rows below, sc in each sc) repeat across, dc in unworked sc from 3 rows below.
10- ch1, turn, sc in each dc and sc across.
11-14 Repeat from ** to ** once.
Cut second color, do not cut first color, should be 4-ish inches in length.

TOP DECREASE:
1- ch1, turn, (sc in 3 sc, sc dec over next 2sc) repeat across (28sc)
2- ch1, turn, (sc in 2sc, sc dec) repeat across (21sc)
3- ch1, turn, (sc in 1sc, sc dec) repeat across (14sc)
4- ch1, turn, (sc dec) repeat across (7sc). Cut, leave a long end for
sewing the seam.
Cinch the top closed by weaving your needle in and out of the remaining sc
of row 4. Then fold the hat putting the Right Sides together and whipstitch your
seam together from top to ribbing.
*Make pom-pom and attach
*Hanger- Keep the seam on the fold- attach hanging yarn color to a post dc
on the inner edge of the hat brim with a sl st. Chain 18-25 (your preference),
sl st to a post on opposite side of the hat brim. Cut and weave ends.

Mini-Hat Decoration/Gift Bag Pattern- Hat #3

Original Knit Pattern: http://www.redheart.com/files/patterns/pdf/LW2658.pdf
This one reminds me of hunting season in the Northwoods. :)

CROCHET VERSION by Elizabeth Mareno
**Great for beginners to practice stitches and color changes**

Needed:
Small amounts of WW yarn. (Used RHSS Brite Yellow, Pumpkin & Tea Leaf)
G hook
Large eye needle for assembly

Stitches Used:
sl st, ch, sc, dc, sc dec, fpdc, bpdc
*fpdc- yo,insert hook from front to back around the post of the stitch
below, yo, pull through, finish like dc
*bpdc- yo, keeping RS facing you, insert hook from back to front around the
post of the stitch below, yo, pull through, finish like dc.

RIBBING:
with G hook and "Ribbing" color- in this case Brite Yellow
1- Ch 36, dc in 3rd ch from hook and each of remaining ch's.
2- (RS) ch2, turn, (fpdc around next dc, bpdc around next dc) repeat to end
of row. Yes, bpdc around the chains at the very end of the row. Cut ribbing
color and tie off.

BODY:
with G hook and first stripe color- in this case Pumpkin
1- with RS facing you, join with a sc to the top of the ch 2 from previous
row, sc in each dc across.
2- ch1, turn, sc in each sc across.
drop first color CUT leaving a long enough end to weave in, Join second color (tea leaf).
3-14- ch1, turn, sc in each sc across.
**Should be 4-ish inches long. DO NOT CUT.

TOP DECREASE:
1- ch1, turn, (sc in 3 sc, sc dec over next 2sc) repeat across (28sc)
2- ch1, turn, (sc in 2sc, sc dec) repeat across (21sc)
3- ch1, turn, (sc in 1sc, sc dec) repeat across (14sc)
4- ch1, turn, (sc dec) repeat across (7sc).
Cut, leave a long end for sewing the seam.
Cinch the top closed by weaving your needle in and out of the remaining sc
of row 4. Then fold the hat putting the Right Sides together and whipstitch your
seam together from top to ribbing.
*Make pom-pom and attach
*Hanger- Keep the seam on the fold- attach hanging yarn color to a post dc
on the inner edge of the hat brim with a sl st. Chain 18-25 (your preference),
sl st to a post on opposite side of the hat brim. Cut and weave ends.

Mini Hat Decoration/Gift Bag- Pattern Hat #2

I made the knit version of this hat with size 9 dpns. I prefer working in the round, as opposed to working straight and sewing seams. I will be making the rest of my knit hats in the round.

CROCHET VERSION by Elizabeth Mareno
**Great for beginners to practice stitches and color changes**
Needed:
Small amounts of WW yarn. (Used RHSS Cherry Red and Bright Blue)
G hook
Large eye needle for assembly

Stitches Used:
sl st, ch, sc, sc dec, fpdc, bpdc

*fpdc- yo,insert hook from front to back around the post of the stitch
below, yo, pull through, finish like dc
*bpdc- yo, keeping RS facing you, insert hook from back to front around the
post of the stitch below, yo, pull through, finish like dc.

RIBBING:
with G hook and "Ribbing" color- in this case Bright Blue
1- Ch 36, dc in 3rd ch from hook and each of remaining ch's.
2- (RS) ch2, turn, (fpdc around next dc, bpdc around next dc) repeat to end
of row. Yes, bpdc around the chains at the very end of the row. Cut ribbing
color and tie off.

BODY:
with G hook and first body color- in this case Cherry Red
1- with RS facing you, join 1st body color with a sc to the ch 2, sc in each dc across. (35sc)
2- ch1, turn, sc in each sc across.
**drop 1st color DO NOT CUT, join with 2nd color
3- ch1, turn, sc in each sc across
4- repeat row 3. CUT 2nd color leaving a long enough end to weave in.
**pick up 1st color and join
5-14- ch1, turn, sc in each sc.
**should be 4-ish inches long. CUT 1st color, rejoin 2nd color for top decrease.

TOP DECREASE:
1- ch1, turn, (sc in 3sc, sc dec over next 2sc) repeat across (28sc)
2- ch1, turn, (sc in 2sc, sc dec) repeat across (21sc)
3- ch1, turn, (sc in 1sc, sc dec) repeat across (14sc)
4- ch1, turn, (sc dec) across (7sc)
Cut, leave a long end for sewing the seam.
Cinch the top closed by weaving your needle in and out of the remaining sc
of row 4. Then fold the hat putting the Right Sides together and whipstitch your
seam together from top to ribbing.

*Make pom-pom and attach
*Hanger- Keep the seam on the fold- attach hanging yarn color to a post dc
on the inner edge of the hat brim with a sl st. Chain 18-25 (your preference),
sl st to a post on opposite side of the hat brim. Cut and weave ends.

Mini-Hat Decoration/Gift Bag Pattern- Hat #1


CROCHET VERSION by Elizabeth Mareno
**Great for beginners to practice stitches and color changes**
Needed:
Small amounts of WW yarn. (Used RHSS Brite Yellow and Turqua)
G hook
Large eye needle for assembly

Stitches Used:
sl st, ch, sc, dc, sc dec, fpdc, bpdc
*fpdc- yo,insert hook from front to back around the post of the stitch below, yo, pull through, finish like dc
*bpdc- yo, keeping RS facing you, insert hook from back to front around the post of the stitch below, yo, pull through, finish like dc.

RIBBING:
with G hook and "Ribbing" color- in this case Turqua
1- Ch 36, dc in 3rd ch from hook and each of remaining ch's.
2- (RS) ch2, turn, (fpdc around next dc, bpdc around next dc) repeat to end of row. Yes, bpdc around the chains at the very end of the row. Cut ribbing color and tie off.

BODY:
with G hook and first stripe color- in this case Brite Yellow
1- with RS facing you, join with a sc to the top of the ch 2 from previous row, sc in each dc across.
2- ch1, turn, sc in each sc across.
**drop first color DO NOT CUT Join second color.
3- ch1, turn, sc in each sc across.
4- repeat row 3.
drop second color DO NOT CUT pick up first color from the side and join.
5- ch1, turn, sc in each sc across.
6- repeat row 5**
Repeat from ** to ** until you reach 4-ish inches (roughly 14 rows), finishing with 1st color.
Drop 1st color and cut, leave a long enough end to weave in, pick up second color.

TOP DECREASE:
1- ch1, turn, (sc in 3 sc, sc dec over next 2sc) repeat across (28sc)
2- ch1, turn, (sc in 2sc, sc dec) repeat across (21sc)
3- ch1, turn, (sc in 1sc, sc dec) repeat across (14sc)
4- ch1, turn, (sc dec) repeat across (7sc). Cut, leave a long end for sewing the seam.

Cinch the top closed by weaving your needle in and out of the remaining sc of row 4. Then fold the hat putting the Right Sides together and whipstitch your seam together from top to ribbing.
*Make pom-pom and attach
*Hanger- Keep the seam on the fold- attach hanging yarn color to a post dc on the inner edge of the hat brim with a sl st. Chain 18-25 (your preference), sl st to a post on opposite side of the hat brim. Cut and weave ends.

Wednesday, November 02, 2011

Cheesy Bacon Potato Chowder~ Original Recipe

Not a great picture....but super hearty and very filling! A wonderful Fall Supper!
Came up with this recipe this week. Was such a huge hit with my family I decided to share it with you. This can very easily be turned gluten free (use a gluten free cream soup). I haven't tried, but I think this could also be altered into a lacto-vegetarian recipe using meat substitutes.
Cheesy Bacon Potato Chowder ~ Original Recipe
Serves about 6-8, 1-1/2 cup servings.
Elizabeth Mareno 2011
1/2 lb bacon- cut into bits
1 cup onion- chopped
2 cups carrots- chopped
3 lbs potatoes- chopped (I didn't peel mine. Use your preference)
4 cups chicken or veggie broth
1 can crm of mushroom or crm of chicken
8oz cream cheese
2 cups shredded cheddar
salt, pepper, granulated garlic(use sparingly) for seasoning
Cook bacon in soup pot until fat is rendered and pieces are crispy. Remove some for garnish.
Add onion and cook till translucent.
Add chicken broth (a little at first to deglase the pan, beware of the steam).
Add carrots and cream soup, mix well.
Add potato, cook until tender.
Using a manual potato masher, slightly mash carrots and potatoes to thicken soup.
Add cheeses, stir until completely melted.
Garnish with crispy bacon and chives (optional).

Hats and Shawls


Hi all. More finished objects today. I updated my computer, so of course it didn't work right anymore. I glitches have apparently fixed themselves, so we are back to our regularly scheduled programming.
We will start with shawls today.
My Mommy turns 64 on Friday. (I was supposed to be born on her birthday, but I decided to come 2-1/2 weeks late. I was born to disrupt the status quo.) I decided my mumsy needed some shawls. I wanted to make her three, but only had time to make her two before I had to get the box mailed in time for her birthday. I knit one and I crocheted one. I don't love the crocheted one for two reasons. I think I picked a bad colorway and it is too short for true "shawl-ness". Nevertheless, I sent it to her.
That is the link. I can't get my laptop to work with me today. Maybe the glitches aren't fixed?
I made mine with Lion Brand "Jiffy" in #189 Wine. It is an acrylic bulky weight yarn, with a bit of a "fuzz" to it. The technical term eludes me today . I used a size 15 needle. I also added an extra "V" because I wanted to make sure this would be long enough to wrap around her. Thanks Stef for being my model.
This is the crocheted shawl I made. I want to try it again with a different color and adding a repeat or two.
Fabulous Shawl. http://www.favecrafts.com/Crochet-Sweaters/Fabulous-Shawl-from-Red-Heart I used, "I Love That Yarn" from Hobby Lobby. Don't know the colorway. It looks prettier in the skein.
Here we have a new baby hat pattern I have come up with. I will be adding a pom-pom to the top. This is something I will be selling in my Etsy shop. http://www.etsy.com/shop/originalbiz This particular hat is a custom request from a patron, but I will be making more for the shop soon.
Last week I made some hats for my Mom. She is in the frozen tundra and she needs some cute hats. I sent her some links to hats I was interested in making and these are the ones she approved of.
I learned Entrelac, people!! Exciting to say the least. I feel so accomplished! It is a slow moving pattern for sure, but such cute results. It makes you look brilliant. I will admit, I struggled with it at first. My brain almost imploded, but then Shazam! I caught it and we were off to the races.
This particular pattern gives a very sketchy explanation of how many stitches to cast on for the ribbing. I did the whole measurement thing and did the first hat with a cast on of 104. Turned out big. Not "turn it over, add handles and call it a purse" big, but definitely requiring bobby pins to hold it on big. Or big hair, big. The second one I took it down and cast on 96. Still feels a little roomy to me. The next one I will either cast on 90 or 84. We'll see. Btw, I have a 23" head circumference.
This one is: Patons 100% Wool, not sure of colorway. It's a blue, teal, brown, tan mixture.
This one is Debbie Norville "Everyday". It is my NEW acrylic worsted weight favorite. Soft, really great spring and pill-free. Definitely not the "plastic, scratchy" feel of Red Heart SS. JoAnn's had it on sale 2 for $5, so I thought I'd give it a try. It is spendy if you are looking to do an afghan. I believe it sells for $3.99, or something close to that, for a 3.5 oz skein. But it's GREAT for hats and other small projects like that.
The last hat I made Mom was a take on the Brattleboro Hat from Knitting Daily. http://www.knittingdaily.com/media/p/47263.aspx It is a pattern that is for sale in a book. I wasn't willing to pay $25.00 for a book for one pattern that I was interested in, so I sorta figured it out for myself. This is a terrible picture of me, but I wanted to show you the hat.
I made it from Lion Brand Wool-Ease with size 7 dpns. I, also, had to research how to make decreases while doing a seed stitch in the round. Oy...the things I do for my mother. I did write down the pattern so I could repeat it. However I don't feel right putting it on here because I just copied somebody else's design. Besides, mine is not nearly as "polished" looking as the original. My Mama appreciated it, though. :)
Last, but certainly not least, is the newest 'hat addition' to our house. My love needed to get a second job to take care of this family. He was hired by Domino's to be a rush driver. He went through several weeks of feeling embarrassed about the fact that he had to get a job at Domino's. I, being the tender sweetheart that I am, just could not wrap my brain around what the big deal was. A job is a job. But, for him, it really mattered. He was ashamed. Something clicked last week. He noticed he was not the only late 30's man working there that worked a day job and delivered pizza's at night to make ends meet. God has touched his heart and now he is grateful for this job. *whew* I must say, I thoroughly enjoy his employee discount. :)
Be grateful....Be blessed. :)

Friday, October 28, 2011

Let's Talk About A Sweater....

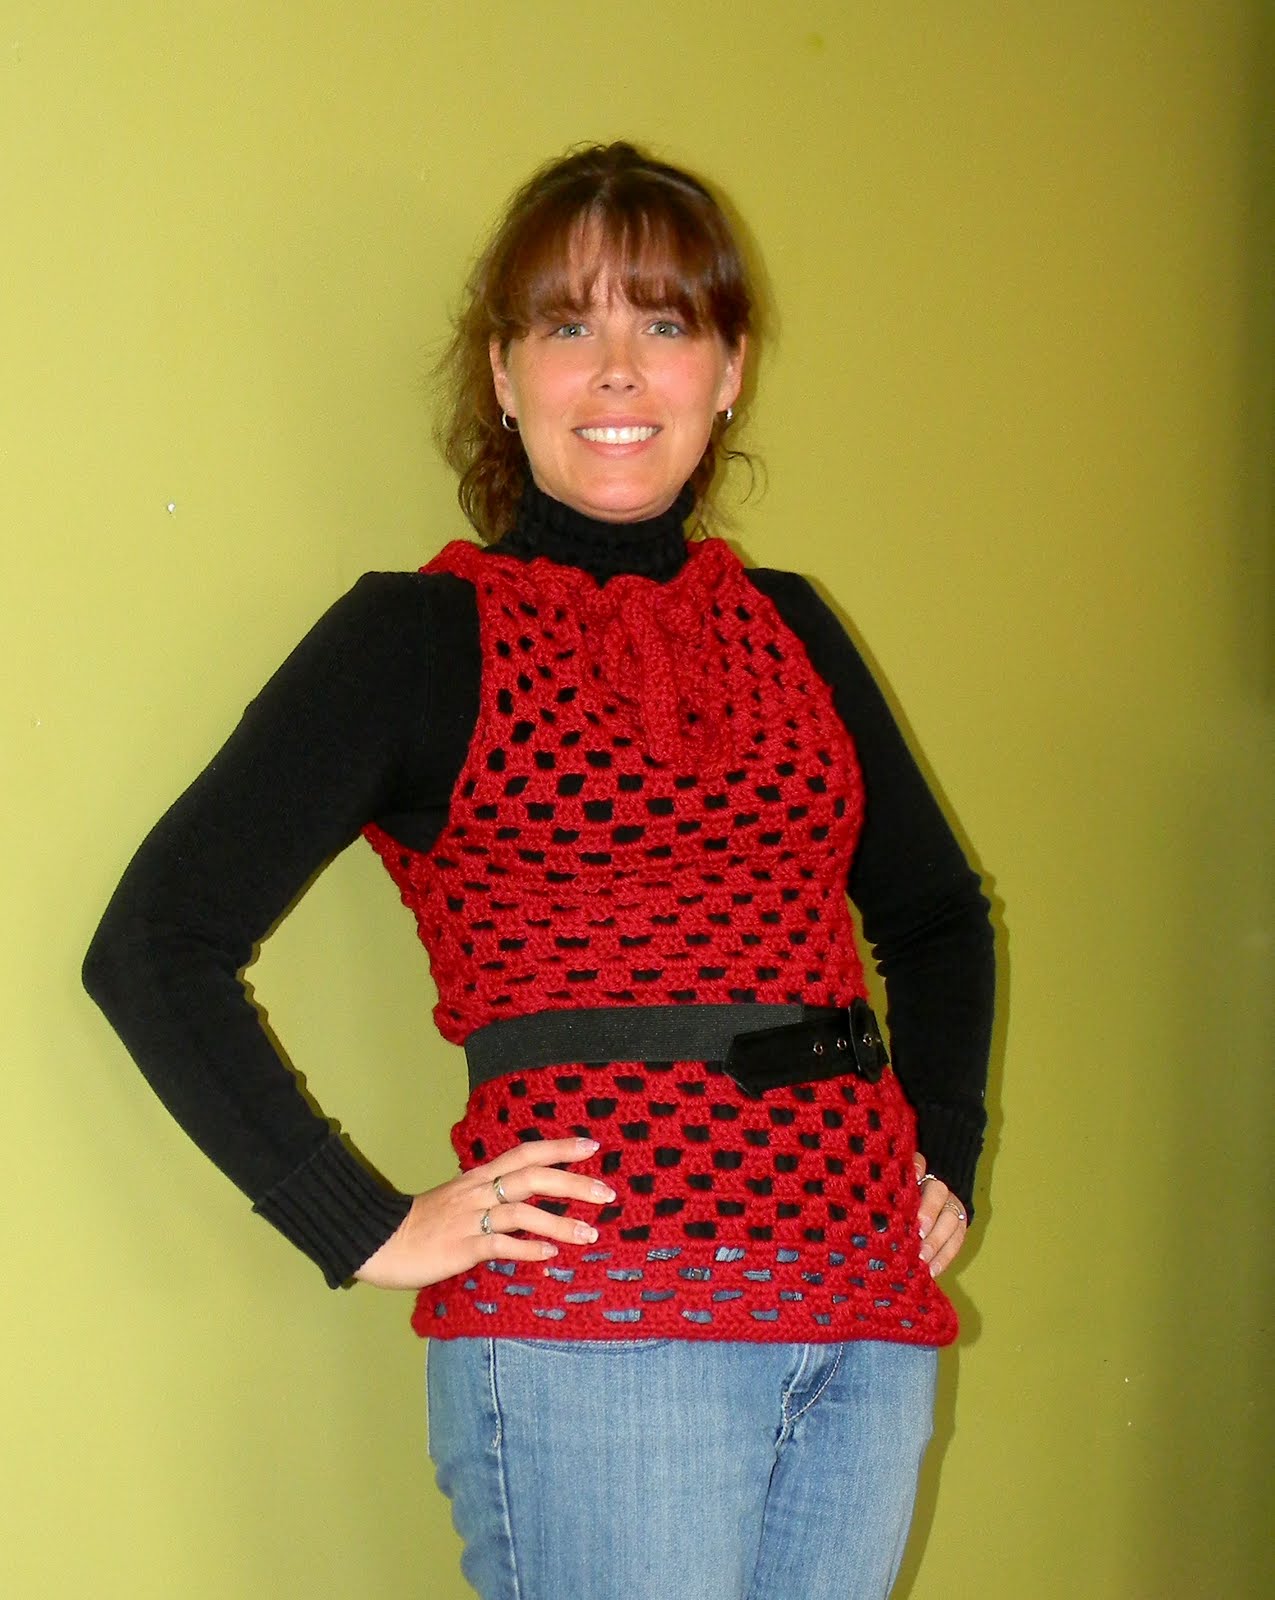
My daughter fell in love with this sweater. I probably shared it in my last post...? Maybe? Not? So I'm sharing it again. It's called the Trendy Top Overlay by Double Stitch Twins. A free Red Heart pattern.
This is the first one I made. Caron Simply Soft "Grape". Stefani wanted to step out of her color comfort zone and spice up her wardrobe. I think it turned out pretty cool. It looks great on her. :)
I posted Stefani's finished sweater on Facebook and got a great response. My girlfriend, Sam, wanted one in red. Red Heart Soft "Wine".
Then, another friend, Gillian, wanted one in Hot Pink! I haven't gotten her "model" picture, so you only get to see a closeup. Caron Simply Soft "Watermelon".
My Mother-in-law wanted one made in red too. But, she wanted a bright red. Not quite University of Wisconsin Badgers red, but something just under that. Red Heart Soft "Really Red". This red looks like wine in the picture, but in person its a lovely warm red with just a hint of gold. Quite beautiful for fall. Stefani was kind enough to model the sweater so I could send a picture to my mom in law. She came down the stairs anouncing to the house "Dang, this one looks good on me too!" Ahhh. Teenage modesty. ;)
Super easy pattern. Lots of fun to make....and it literally looks great on everyone. :) I'll post pics of Gillian and Ann when they send them to me.
Tah!

Friday, October 14, 2011

Some Pooh for You

Sharing my Pooh with you is a special thing....really. This Pooh, however, was made specifically for my cousin's wife's baby shower. They are having a little boy in December.


My daughter thought it best to strap Pooh into the seat for the ride over to the shower. Makes for a cute picture. :)


Thursday, September 08, 2011

What God is doing in my life.....

Hey all.

I just need to talk. I am freshly amped with caffeine, so I think my fingers will keep up with my mind. However, this might become disjointed in spots, please forgive my rambling.

Have you ever done something and then when it's not this amazing, exciting new thing anymore you start to question the heck did I just do? Yes, me too. But, we pick up our boot straps and pull up our big girl panties and MARCH!

I love Florida. I really do. It is the antithesis of Wisconsin in almost every conceivable way. Oh wait, they do have cows...and roosters. This I know because a couple of streets over there is a cow pasture in the middle of a residential neighborhood. I'm thinking they were there first...? lol And there is a rooster a neighborhood or two over that crows every morning. When I have my windows open, I can hear him.

Moving here has been the hardest thing I have ever done. Some of this I may have whined to you already but, to top the list, the emotional aspect has been heart wrenching. I miss my parents so much some days I could just lay in bed, in a pool of my tears and snot, until I crust over. Thank God my parents learned how to text before we moved or I don't know what I would do. I hate sitting on the phone. I miss my friends. I miss my scrapbook Saturdays. I miss going to the drive-in. I miss card night at our house. I miss cooking in a kitchen that's big enough and having people over. I miss canning salsa with my best friend...... You don't realize how comfortable you are in your life until you have to start over from scratch for everything. Even down to the basic need of friendships. I don't need a lot of people close to me, but when you have no one.......it gets lonely. In the last month or two we have begun to forge friendships with people in our church. Not that we necessarily do things outside of church right now, but it's nice to know that there are people that are happy to see you. Really, the only thing hard after that would be the financial aspect. I don't think we have recovered yet. But BOY!!!! has my faith in God's ability to take care of me grown. Leaps and Bounds!! We are never without what we need.

I am greatful that God has placed me here, in this place, in this time. It would have taken me years to reach the faith level I have gotten to just by moving away from everything I've ever known.

The bible says that if you will give up mothers and fathers and sisters and brothers and properties for His sake, you will be blessed a hundredfold (Matt 19:29)....I am expecting that. We did not move only because we wanted to live somewhere warm. We moved because we felt like God placed us here for a reason. Couldn't tell you what it is right now. We see things developing and are excited about the possibilities. But, no matter what, we are in training for the next season of our lives and we are going to learn all that we need to know. One thing we are certain of is that we are to finish getting our kids through high school. We will not be released to move on until that has happened. They are loving Florida Virtual School so far. It's a great program. Teo actually likes school this year.

We have begun to have devotion time with our kids every night. I know that it is assumed that if you homeschool and you are Christians that you have devotions with your kids. I was never one of those "do it all right" kind of moms. There are lots of things I've fallen down on. Devotions was one of them. We noticed a really bad pattern of bad behavior coming out of our kids. God showed me that is because I neglected my first mission field. So, every night we have family prayer with prayer requests and issues we know of that we pray for others, as well as, ourselves. And we read a book out of Proverbs every night. I want to branch out from that and start adding a chapter from other books. The kids are disappointed if they only get to read once and there are all kinds of things to learn in the bible, so why not? I see the change in programming working. My kids are more pleasant to be around. They are becoming kinder to each other and they are getting the Word in them. Even if its in small doses, it will change their lives. I'm expecting great things.

I received an invitation from a gentleman at church to come and sing with his personal ministry group. He talked with both Tony and I about it and I am going to start going to practices on the 19th. He told Tony the first time he heard me sing, he knew instantly that I had to come sing with him and that God has given me a gift and I need to stop hiding it. Wow. That is humbling. Tony told him that I have been singing in church since I was 12 and he asked "And she's never done anything with it?" It floors me that this man, who performs for and with great talent, loves my voice. I honestly don't look at myself as stacking up to other people's talent even though I've been asked most of my life when I was going to start recording. Fear and insecurity have always held me back. But no more. I know that God has created my voice for His glory and for such a time as this. I think nothing has happened with my voice up till now because it wasn't the right timing. In my life and in my walk with God.

Ok. Time for me to end my rambling. I pray you have a blessed and prosperous day. That you have favor with everyone you come in contact with and you are able to touch someone in a positive way! Shine on, Cities on a Hill!!

Tuesday, September 06, 2011

Thank You Tuesday!

Yay...more pictures! Tuesdays are all about showing off the pictures of my patterns that my readers have been gracious enough to share with me. :) I love seeing what everyone is doing!

First up we have a couple of pictures by Nanette of Nanette Crochet on Blogspot! She's got a nice supply of her own Pokemon patterns, so you should check her out! Nanette used my Azurill pattern and created this first little guy...isn't he just cute??


Then, she modified the Azurill pattern and came up with a Marill pattern....Great Job, Nanette! He's so chubby...I love him!


A big shout out to Marie-France for making Charizard...*whew*....he's a lot of work!! She said she had some technical difficulties, but that she is hoping her son likes him. He's gonna LOVE him!! You did a GREAT job! Congrats on completing that monumental task!!


If you want me to showcase your amazingness...send me pics! I'll be happy to post them and give you all the credit for the finished product!! Yay, you!

Generations 12-Inch Crochet Square | Granny Stitch CAL Pattern

  Generations 12-Inch Crochet Square: A Story in Every Stitch Some crochet projects are simply fun to make. Others have a little more meanin...