

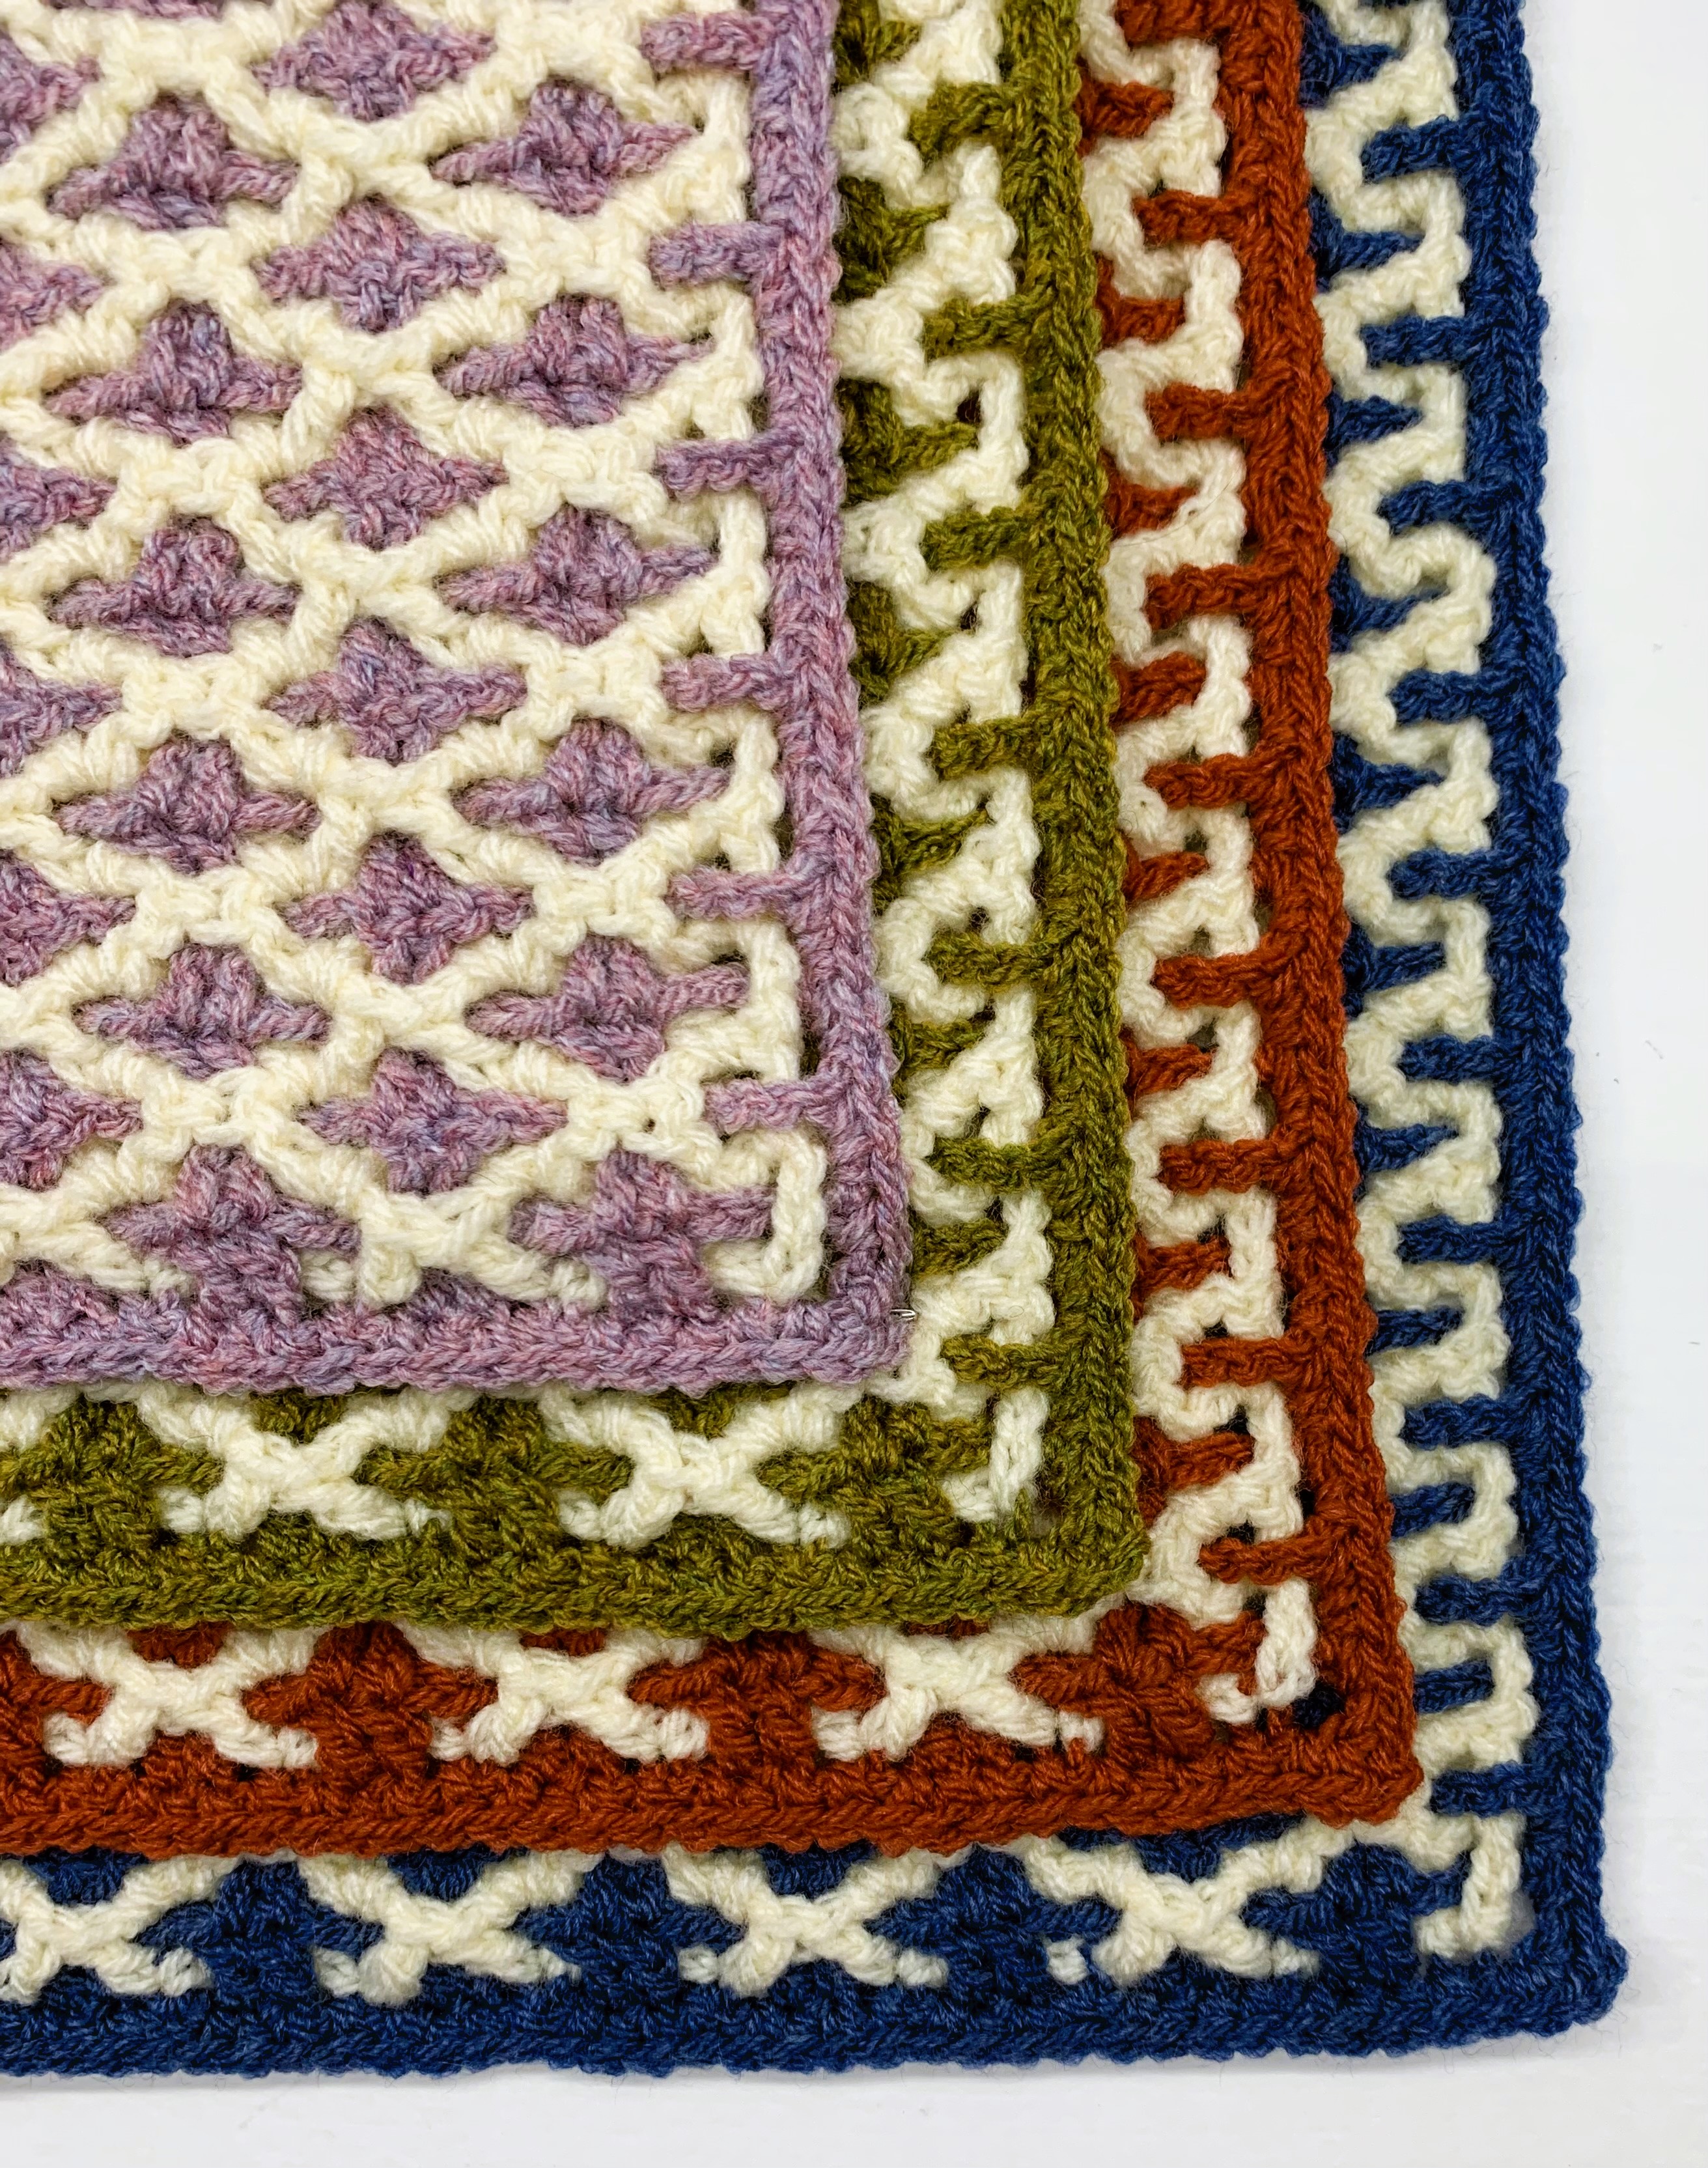
Interlocking Diamonds Placemat Pattern
The placemats are reversible!
Materials:
Yarn (per placemat):
DK weight yarn or #3 light yarn
Color A: Denim (in sample), 1.6 oz/45g (yarn used Cygnet DK
in Denim 100g)
Color B: Off-White (in sample), 1.4 oz/41g (yarn used Sirdar
Hayfield Bonus DK in Aran 100g)
Notions:
Hook: F/3.75mm
2-3 stitch markers
Gauge: 18sc X 22rows = 4” x 4”
Finished Placemat Size: 16” W x 11.5” H
Stitch Tutorial Video on YouTube- this is helpful for getting a hang of the rhythm of the pattern- instructions are also included for the edging.
US Terms:
Ch 95 with Color A, place stitch marker in
the 8th ch from the hook.
The first two rows are setting up the pattern. The repeats
will begin at row 3.
Row 1: (RS) dc in the tenth ch from the hook, dc in
the next ch, *ch3, sk the next 3 ch, dc in next 2 ch; repeat from the * across,
ending with ch3, sk the next 3 ch, dc in the last ch. Remove the ch from the
hook, place a stitch marker in the loop. Do not turn.
Row 2: (RS) working in front of the last row,
attach Color B with a sl st to the 8th ch, ch6 (cts as dc + ch3
going forward), working behind the last row, dc in in the same ch, dc in
the center of the next ch-3 from the foundation ch, ch3, *working in front
of the last row, dc in the same ch, dc in the center of the next ch-3 from
the foundation ch, ch3, working behind the last row, dc in the same ch,
dc in the center of the next ch-3 from the foundation ch, ch3 ; repeat from the
* across, ending with working in front of the last row, dc in the same
ch. Remove the ch from the hook, place a stitch marker in the loop.
Row 3: (WS) Replace Color A onto your hook, ch6,
turn, make sure your Color B loop and yarn are on the side facing you before
moving on or things will get tangled, working behind the last row,
dc in each of the next 2dc from Color A row, ch3, *working in front of the
last row, dc in each of the next 2dc from Color A row, ch3, working
behind the last row, dc in each of the next 2dc from the Color A row, ch3;
repeat from the * across, ending with working in front of the last row,
dc in the 4th ch from the ch used for Color B on the foundation ch. Remove
the ch from the hook, place a stitch marker in the loop.
Row 4: (WS) Keeping the loop in front of the last
Color A row, replace the Color B loop onto the hook and ch6, working
behind the last row, dc in the first ch-3 sp of the previous Color B row,
dc in the next ch-3 sp of the previous Color B row, ch3, *working in front
of the last row, dc in the same ch-3 sp, dc in the next ch-3 sp of the
previous Color B row, ch3, working behind the last row, dc in the same
ch-3 sp, dc in the next ch-3 sp of the previous Color B row, ch3; repeat from *
across, ending with working in front of the last row, dc in the third ch
of the turning ch6 from the Color B row. Remove the loop from the hook,
place a stitch marker in the loop.
Row 5: (RS) Replace Color A onto your hook, ch6,
turn, make sure your Color B loop and yarn are on the side facing you before
moving on or things will get tangled, working behind the last row,
dc in each of the next 2dc from Color A row, ch3, *working in front of the
last row, dc in each of the next 2dc from Color A row, ch3, working
behind the last row, dc in each of the next 2dc from the Color A row, ch3;
repeat from the * across, ending with working in front of the last row,
dc in the 3rd ch of the turning ch6 from the Color A row. Remove the ch from
the hook, place a stitch marker in the loop.
Row 6: (RS) Keeping the loop in front of the last
Color A row, replace the Color B loop onto the hook and ch6, working
behind the last row, dc in the first ch-3 sp of the previous Color B row,
dc in the next ch-3 sp of the previous Color B row, ch3, *working in front
of the last row, dc in the same ch-3 sp, dc in the next ch-3 sp of the
previous Color B row, ch3, working behind the last row, dc in the same
ch-3 sp, dc in the next ch-3 sp of the previous Color B row, ch3; repeat from *
across, ending with working in front of the last row, dc in the third ch
of the turning ch6 from the Color B row. Remove the loop from the hook,
place a stitch marker in the loop.
Row 7: (WS) Repeat Row 5
Row 8: (WS) Repeat Row 6
(Repeat rows 5-8) 11x, ending with a Final Row 7 from below.
Final Row 7: Repeat as for Row 5 but start with a
ch5 (this is a hdc + ch3) and change your dc’s to hdc’s so they
leave a smaller opening at the top.
EDGING:
Top Edge: ch1, turn, sc in the first hdc, (2sc in ch-3
sp, sc in each dc) across to the turning ch5, 2sc in the ch-3 sp, sc in the 2nd
ch from the ch-5. Ch2.
Turn so you are now working on the row ends of the placemat.
First Side Edge: sc in the same sp as the last sc, sc
once around the first row end, (skip the post, 2sc around the next row end)
repeat until the last row end before the bottom, place one sc in the last row
end, sc in the corner, ch2
Turn so you are working on the bottom foundation chain of
the placemat.
Bottom Edge: sc in the same sp as the last sc, {sc around
the skipped ch from the foundation ch, sk the next ch (this has been worked
with the second color), sc around the skipped ch, sc in the next 2dc,} repeat across-
this will bring you to the last skipped chain and the turning chain- sc around
the skipped chain, skip the worked chain, and sc around the turning ch, remember
the turning ch also includes the first dc of the foundation, so find the second
ch from the last worked ch that you skipped over and put a sc in that ch,
ch2
Turn so you are working the second set of row ends on the
placemat.
Second Side Edge: Repeat as for the first side, end
with a sc in the same sp as the first sc, ch2 and join.
Cut and finish off.
Tuck your ends in and you’re done!

.png)


No comments:
Post a Comment