Thursday, December 22, 2011

Christmas Beanies ~ Knit Pattern

I decided to share with you my Christmas beanies. I looked and looked and looked for a pattern that spoke to me and was something that I really wanted to make over and over and over again. I never found one, so I made up my own pattern.

My original idea was just to have something to share as gifts with my cousins kids because they had invited us to go over for Christmas Eve and I didn't want to walk in empty handed. Well, the idea grew. There will be a total of 10 teenagers (including family and girlfriends), an 8 year old and a new born there...all of them cousins (except the girlfriends, of course). So, I decided to make a beanie for ALL of the kids. I finished the last one yesterday. I loved making every single one of them because they were all a blank canvas for my creativity. Endless possibilities for color combinations and stripes. lol. BUT...I was so very glad when the last one was complete.

This is the biggest group of kids. We have an 18 yo w/a gf, 16 yo w/a gf, a 14 yo and an 8 yo. The 8 yo's hat turned out a little larger because I went by rows instead of measurements on a couple of hats. I figured out what went wrong and corrected myself for the rest of them, but hers is a little longer than the rest.


Used: hat 1: Wool Ease, hat 2: RH Soft & HL Love, hat 3: Wool Ease, hat 4: LB Jiffy & HL Love, hat 5: Wool Ease & HL Love, hat 6: RHSS


This is a brother/sister duo. Blue/gray is his, purple/black is hers. I was struggling with what colors to make for them, so I asked their mom. They were the only ones besides my kids that actually got to choose colors.


Used: hat 1: L&T Impeccable & RHSS, hat 2: RHSS & HL Love


These are for my kids. I am actually going to wrap them up and hand them out with the other kids' hats, even though my daughter has modeled hers a few times. I always have to snatch it back and say "you can't have that now!"


Used: hat 1: L&T Impeccable & RHSS, hat 2: Wool Ease & Caron SS


Last, but not least, we have the last set of brothers. The oldest was born 8 hours after my daughter and the youngest was born 2 days ago. I just couldn't leave the baby out, so I modified the pattern by a few stitches and rows and went to town. I actually love both of these hats. :)


Used: hat 1: RHSS, hat 2: TLC Amore


I am going to share with you the very basic pattern. Soooooper simple. And I'll share my "straight lines" method for my color changes.


Christmas Beanies (very stretchy, great for scraps)

by Elizabeth Mareno 2011


Materials:

About 2 ozs Main color, less for Contrast color, Worsted Weight!! :)

(Yarns Used: LB Wool-Ease, LB Jiffy, RHSS, HL I Love This Yarn, Caron Simply Soft, RH Soft, TLC Amore (discontinued?)& Loops n Threads-Impeccable)

size 8 dpns or circular needles

place marker (optional)

end stoppers (optional)

large eye needle for tucking ends in


ADULT SIZE: fits an average head up to 23".

co 85 stitches. I cast on 30-needle 1, 30-needle 2, 25-needle 3. I also used end stoppers to keep my stitches from sliding off. Join without twisting to make a circle, if you need a place marker, put it at the beginning of the join.


k3, p2 around.
You may stripe whenever you like, the pattern stays the same until you reach 6" in length from the beginning. When I stripe, I will slip the first stitch purlwise when I am beginning my second row of that color, this helps to pull the row "up" and hide the color change. If you are doing single rows, I am still a novice at that, so this method may not work if you are striping single rows.

I, also, do not cut my yarns between row changes, I just carry the yarn up the inside of the hat. Makes for less work in the finishing process. If you do this, remember not to pull too tight when you are bringing your yarn up for a color change or you will cause the hat to "crinkle".


top decrease rows: After you have completed 6", knit 1 row around.

next row: k5, k2tog,(repeat around) k1

next : knit

next : k4, k2tog,(repeat around) k1

next : knit

next : k3, k2tog, (repeat around) k1

next : k2, k2tog, (repeat) k1

next : k1, k2tog, (repeat) k1

next : k2tog

next: k2tog (you should have 7 loops remaining. if not, don't worry, just use what you have and close it up.)

Cut, leaving a long end for closing the top. Weave needle through the remaining loops and pull tight. I usually weave them through one more time for security, then weave your end in to make sure the top doesn't come undone and finish off.

Weave in the remaining and you are done!


NEW BORN/INFANT VERSION:

CO 55, work pattern for 4 inches,

decrease rows: k3, k2tog

next: k2, k2tog

next: k1, k2tog

next: k2tog

next: k2tog

Finish off.


To make larger versions, cast on in multiples of five. I do not have a scientific approach to knitting for babies. I sort of fly by the seat of my pants. If someone has a tried and true method...please...do tell. I haven't had a baby in my house in so long, I have forgotten how small they really are.


Here is my non-scientific method:

for infants, if using WW, cast on 55, knit until 4", then decrease.

for babies, cast on 65, knit until 4-1/2"(3-6mo), 5" (6-9mo) & 5-1/2" (9-12 mo). (Some babies have really big heads and may need more length to have the hat fit properly. Use your judgement.)

toddlers, cast on 75, Stay at 5-1/2" (but you be the judge here!)

kids & older, cast on 85, and depending on how big of a melon they have, knit till 6".


Hope you enjoy!! :)

Sunday, December 04, 2011

Mini-Hat #4 - Decoration/Gift Bag Knit Pattern

KNIT (and tiny bit of crochet for the hanging loop) VERSION by Elizabeth Mareno
Needed:
sz 9 straight needles
G crochet hook
Lg eye needles for sewing seam
Small amounts of WW yarn (Used RHSS Turqua and Lavender)

Stitches Used:
Purl, Knit, Slip Purlwise, (crochet chain)
*wyib- with yarn in back
*sl2p- slip 2 purlwise

RIBBING:
with ribbing color, CO 34
1- k1, p1 across
repeat row 1 for 4 rows or 3/4"

DO NOT CUT
BODY:
run yarn along side of work
1- knit row
2- purl ro2
3- sl first 2 st purlwise, join second color, (k2, wyib sl2p,) repeat across
4- (p2, wyib sl2p) repeat across
5 & 6: repeat rows 1 & 2
7- w/second color (k2, sl2p), repeat across
8- (sl2p, p2) repeat
9-24- Repeat rows 1-8 two more times
should be 4-ish inches after row 24
25- k2, (k3, k2tog) 6 times, k2 (28)
26- k2, (k2, k2tog) 6 times, k2 (22)
27- k2, (k1, k2tog) 6 times, k2 (16)
28- (k2tog) across (8)
Cut yarn, leave a long end for sewing. Cinch up the top and sew seam.

*Make a pom-pom for the top.
*Hanger- Keep the seam on the fold- attach hanging yarn color to a post dcon
the inner edge of the hat brim with a sl st. Chain 18-25 (your
preference),sl st to a post on opposite side of the hat brim. Cut and weave
ends

Mini-Hat #4- Decoration/Gift Bag Crochet Pattern


CROCHET VERSION by Elizabeth Mareno
**Great for beginners to practice stitches and color changes**

Needed:
Small amounts of WW yarn. (Used RHSS Turqua and Lavender)
G hook
Large eye needle for assembly

Stitches Used:
sl st, ch, sc, dc, sc dec, fpdc, bpdc
*fpdc- yo,insert hook from front to back around the post of the stitch
below, yo, pull through, finish like dc
*bpdc- yo, keeping RS facing you, insert hook from back to front around the
post of the stitch below, yo, pull through, finish like dc.

RIBBING:
with G hook and "Ribbing" color- in this case Turqua
1- Ch 36, dc in 3rd ch from hook and each of remaining ch's.
2- (RS) ch2, turn, (fpdc around next dc, bpdc around next dc) repeat to end
of row. Yes, bpdc around the chains at the very end of the row. Cut ribbing
color and tie off.

BODY:
with G hook and first color- in this case Turqua
1- with RS facing you, join with a sc to the top of the ch 2 from previous
row, sc in each dc across.
2- ch1, turn, sc in each sc across.
**drop first color DO NOT CUT Join second color.
3- ch1, turn, (sc in 2sc, ch2, sk 2sc) repeat 4 times, ch2, sk 2sc, sc in 3sc, (ch2, sk 2sc, sc in 2sc) repeat to end (19sc, 8-ch2 spc)
4- repeat row 3.
drop second color DO NOT CUT pick up first color from the side and join.
5- ch1, turn, (sc in 2sc, dc in next open sc 3 rows below) repeat across putting a sc in each sc and dc in open sc 3 rows below.
6- ch1, turn, sc in each sc and dc across.**
drop first color, pick up second color from the side and join.
7- ch3, turn, sk first 2sc, sc in next 2sc, (ch2, sk 2sc, sc in 2sc) repeat 3 times, ch3, sk 3, sc in 2sc, Repeat () 3 times, leave rem 2 sc undone. (16sc, 2 ch3 spc, 6 ch2 spc)
8- ch1, turn, (sc in 2sc, ch2, sk 2sc) 3 times, sc in 2, ch3, sk3, (sc in 2sc, ch2, sk2) 3 times, sc in 2, ch2, sl hook into 1st ch of original ch3 of row 7.
drop second color, pick up first color
9- ch2, turn, (dc in open sc from 3 rows below, sc in each sc) repeat across, dc in unworked sc from 3 rows below.
10- ch1, turn, sc in each dc and sc across.
11-14 Repeat from ** to ** once.
Cut second color, do not cut first color, should be 4-ish inches in length.

TOP DECREASE:
1- ch1, turn, (sc in 3 sc, sc dec over next 2sc) repeat across (28sc)
2- ch1, turn, (sc in 2sc, sc dec) repeat across (21sc)
3- ch1, turn, (sc in 1sc, sc dec) repeat across (14sc)
4- ch1, turn, (sc dec) repeat across (7sc). Cut, leave a long end for
sewing the seam.
Cinch the top closed by weaving your needle in and out of the remaining sc
of row 4. Then fold the hat putting the Right Sides together and whipstitch your
seam together from top to ribbing.
*Make pom-pom and attach
*Hanger- Keep the seam on the fold- attach hanging yarn color to a post dc
on the inner edge of the hat brim with a sl st. Chain 18-25 (your preference),
sl st to a post on opposite side of the hat brim. Cut and weave ends.

Mini-Hat Decoration/Gift Bag Pattern- Hat #3

Original Knit Pattern: http://www.redheart.com/files/patterns/pdf/LW2658.pdf
This one reminds me of hunting season in the Northwoods. :)

CROCHET VERSION by Elizabeth Mareno
**Great for beginners to practice stitches and color changes**

Needed:
Small amounts of WW yarn. (Used RHSS Brite Yellow, Pumpkin & Tea Leaf)
G hook
Large eye needle for assembly

Stitches Used:
sl st, ch, sc, dc, sc dec, fpdc, bpdc
*fpdc- yo,insert hook from front to back around the post of the stitch
below, yo, pull through, finish like dc
*bpdc- yo, keeping RS facing you, insert hook from back to front around the
post of the stitch below, yo, pull through, finish like dc.

RIBBING:
with G hook and "Ribbing" color- in this case Brite Yellow
1- Ch 36, dc in 3rd ch from hook and each of remaining ch's.
2- (RS) ch2, turn, (fpdc around next dc, bpdc around next dc) repeat to end
of row. Yes, bpdc around the chains at the very end of the row. Cut ribbing
color and tie off.

BODY:
with G hook and first stripe color- in this case Pumpkin
1- with RS facing you, join with a sc to the top of the ch 2 from previous
row, sc in each dc across.
2- ch1, turn, sc in each sc across.
drop first color CUT leaving a long enough end to weave in, Join second color (tea leaf).
3-14- ch1, turn, sc in each sc across.
**Should be 4-ish inches long. DO NOT CUT.

TOP DECREASE:
1- ch1, turn, (sc in 3 sc, sc dec over next 2sc) repeat across (28sc)
2- ch1, turn, (sc in 2sc, sc dec) repeat across (21sc)
3- ch1, turn, (sc in 1sc, sc dec) repeat across (14sc)
4- ch1, turn, (sc dec) repeat across (7sc).
Cut, leave a long end for sewing the seam.
Cinch the top closed by weaving your needle in and out of the remaining sc
of row 4. Then fold the hat putting the Right Sides together and whipstitch your
seam together from top to ribbing.
*Make pom-pom and attach
*Hanger- Keep the seam on the fold- attach hanging yarn color to a post dc
on the inner edge of the hat brim with a sl st. Chain 18-25 (your preference),
sl st to a post on opposite side of the hat brim. Cut and weave ends.

Mini Hat Decoration/Gift Bag- Pattern Hat #2

I made the knit version of this hat with size 9 dpns. I prefer working in the round, as opposed to working straight and sewing seams. I will be making the rest of my knit hats in the round.

CROCHET VERSION by Elizabeth Mareno
**Great for beginners to practice stitches and color changes**
Needed:
Small amounts of WW yarn. (Used RHSS Cherry Red and Bright Blue)
G hook
Large eye needle for assembly

Stitches Used:
sl st, ch, sc, sc dec, fpdc, bpdc

*fpdc- yo,insert hook from front to back around the post of the stitch
below, yo, pull through, finish like dc
*bpdc- yo, keeping RS facing you, insert hook from back to front around the
post of the stitch below, yo, pull through, finish like dc.

RIBBING:
with G hook and "Ribbing" color- in this case Bright Blue
1- Ch 36, dc in 3rd ch from hook and each of remaining ch's.
2- (RS) ch2, turn, (fpdc around next dc, bpdc around next dc) repeat to end
of row. Yes, bpdc around the chains at the very end of the row. Cut ribbing
color and tie off.

BODY:
with G hook and first body color- in this case Cherry Red
1- with RS facing you, join 1st body color with a sc to the ch 2, sc in each dc across. (35sc)
2- ch1, turn, sc in each sc across.
**drop 1st color DO NOT CUT, join with 2nd color
3- ch1, turn, sc in each sc across
4- repeat row 3. CUT 2nd color leaving a long enough end to weave in.
**pick up 1st color and join
5-14- ch1, turn, sc in each sc.
**should be 4-ish inches long. CUT 1st color, rejoin 2nd color for top decrease.

TOP DECREASE:
1- ch1, turn, (sc in 3sc, sc dec over next 2sc) repeat across (28sc)
2- ch1, turn, (sc in 2sc, sc dec) repeat across (21sc)
3- ch1, turn, (sc in 1sc, sc dec) repeat across (14sc)
4- ch1, turn, (sc dec) across (7sc)
Cut, leave a long end for sewing the seam.
Cinch the top closed by weaving your needle in and out of the remaining sc
of row 4. Then fold the hat putting the Right Sides together and whipstitch your
seam together from top to ribbing.

*Make pom-pom and attach
*Hanger- Keep the seam on the fold- attach hanging yarn color to a post dc
on the inner edge of the hat brim with a sl st. Chain 18-25 (your preference),
sl st to a post on opposite side of the hat brim. Cut and weave ends.

Mini-Hat Decoration/Gift Bag Pattern- Hat #1


CROCHET VERSION by Elizabeth Mareno
**Great for beginners to practice stitches and color changes**
Needed:
Small amounts of WW yarn. (Used RHSS Brite Yellow and Turqua)
G hook
Large eye needle for assembly

Stitches Used:
sl st, ch, sc, dc, sc dec, fpdc, bpdc
*fpdc- yo,insert hook from front to back around the post of the stitch below, yo, pull through, finish like dc
*bpdc- yo, keeping RS facing you, insert hook from back to front around the post of the stitch below, yo, pull through, finish like dc.

RIBBING:
with G hook and "Ribbing" color- in this case Turqua
1- Ch 36, dc in 3rd ch from hook and each of remaining ch's.
2- (RS) ch2, turn, (fpdc around next dc, bpdc around next dc) repeat to end of row. Yes, bpdc around the chains at the very end of the row. Cut ribbing color and tie off.

BODY:
with G hook and first stripe color- in this case Brite Yellow
1- with RS facing you, join with a sc to the top of the ch 2 from previous row, sc in each dc across.
2- ch1, turn, sc in each sc across.
**drop first color DO NOT CUT Join second color.
3- ch1, turn, sc in each sc across.
4- repeat row 3.
drop second color DO NOT CUT pick up first color from the side and join.
5- ch1, turn, sc in each sc across.
6- repeat row 5**
Repeat from ** to ** until you reach 4-ish inches (roughly 14 rows), finishing with 1st color.
Drop 1st color and cut, leave a long enough end to weave in, pick up second color.

TOP DECREASE:
1- ch1, turn, (sc in 3 sc, sc dec over next 2sc) repeat across (28sc)
2- ch1, turn, (sc in 2sc, sc dec) repeat across (21sc)
3- ch1, turn, (sc in 1sc, sc dec) repeat across (14sc)
4- ch1, turn, (sc dec) repeat across (7sc). Cut, leave a long end for sewing the seam.

Cinch the top closed by weaving your needle in and out of the remaining sc of row 4. Then fold the hat putting the Right Sides together and whipstitch your seam together from top to ribbing.
*Make pom-pom and attach
*Hanger- Keep the seam on the fold- attach hanging yarn color to a post dc on the inner edge of the hat brim with a sl st. Chain 18-25 (your preference), sl st to a post on opposite side of the hat brim. Cut and weave ends.

Wednesday, November 02, 2011

Cheesy Bacon Potato Chowder~ Original Recipe

Not a great picture....but super hearty and very filling! A wonderful Fall Supper!
Came up with this recipe this week. Was such a huge hit with my family I decided to share it with you. This can very easily be turned gluten free (use a gluten free cream soup). I haven't tried, but I think this could also be altered into a lacto-vegetarian recipe using meat substitutes.
Cheesy Bacon Potato Chowder ~ Original Recipe
Serves about 6-8, 1-1/2 cup servings.
Elizabeth Mareno 2011
1/2 lb bacon- cut into bits
1 cup onion- chopped
2 cups carrots- chopped
3 lbs potatoes- chopped (I didn't peel mine. Use your preference)
4 cups chicken or veggie broth
1 can crm of mushroom or crm of chicken
8oz cream cheese
2 cups shredded cheddar
salt, pepper, granulated garlic(use sparingly) for seasoning
Cook bacon in soup pot until fat is rendered and pieces are crispy. Remove some for garnish.
Add onion and cook till translucent.
Add chicken broth (a little at first to deglase the pan, beware of the steam).
Add carrots and cream soup, mix well.
Add potato, cook until tender.
Using a manual potato masher, slightly mash carrots and potatoes to thicken soup.
Add cheeses, stir until completely melted.
Garnish with crispy bacon and chives (optional).

Hats and Shawls


Hi all. More finished objects today. I updated my computer, so of course it didn't work right anymore. I glitches have apparently fixed themselves, so we are back to our regularly scheduled programming.
We will start with shawls today.
My Mommy turns 64 on Friday. (I was supposed to be born on her birthday, but I decided to come 2-1/2 weeks late. I was born to disrupt the status quo.) I decided my mumsy needed some shawls. I wanted to make her three, but only had time to make her two before I had to get the box mailed in time for her birthday. I knit one and I crocheted one. I don't love the crocheted one for two reasons. I think I picked a bad colorway and it is too short for true "shawl-ness". Nevertheless, I sent it to her.
That is the link. I can't get my laptop to work with me today. Maybe the glitches aren't fixed?
I made mine with Lion Brand "Jiffy" in #189 Wine. It is an acrylic bulky weight yarn, with a bit of a "fuzz" to it. The technical term eludes me today . I used a size 15 needle. I also added an extra "V" because I wanted to make sure this would be long enough to wrap around her. Thanks Stef for being my model.
This is the crocheted shawl I made. I want to try it again with a different color and adding a repeat or two.
Fabulous Shawl. http://www.favecrafts.com/Crochet-Sweaters/Fabulous-Shawl-from-Red-Heart I used, "I Love That Yarn" from Hobby Lobby. Don't know the colorway. It looks prettier in the skein.
Here we have a new baby hat pattern I have come up with. I will be adding a pom-pom to the top. This is something I will be selling in my Etsy shop. http://www.etsy.com/shop/originalbiz This particular hat is a custom request from a patron, but I will be making more for the shop soon.
Last week I made some hats for my Mom. She is in the frozen tundra and she needs some cute hats. I sent her some links to hats I was interested in making and these are the ones she approved of.
I learned Entrelac, people!! Exciting to say the least. I feel so accomplished! It is a slow moving pattern for sure, but such cute results. It makes you look brilliant. I will admit, I struggled with it at first. My brain almost imploded, but then Shazam! I caught it and we were off to the races.
This particular pattern gives a very sketchy explanation of how many stitches to cast on for the ribbing. I did the whole measurement thing and did the first hat with a cast on of 104. Turned out big. Not "turn it over, add handles and call it a purse" big, but definitely requiring bobby pins to hold it on big. Or big hair, big. The second one I took it down and cast on 96. Still feels a little roomy to me. The next one I will either cast on 90 or 84. We'll see. Btw, I have a 23" head circumference.
This one is: Patons 100% Wool, not sure of colorway. It's a blue, teal, brown, tan mixture.
This one is Debbie Norville "Everyday". It is my NEW acrylic worsted weight favorite. Soft, really great spring and pill-free. Definitely not the "plastic, scratchy" feel of Red Heart SS. JoAnn's had it on sale 2 for $5, so I thought I'd give it a try. It is spendy if you are looking to do an afghan. I believe it sells for $3.99, or something close to that, for a 3.5 oz skein. But it's GREAT for hats and other small projects like that.
The last hat I made Mom was a take on the Brattleboro Hat from Knitting Daily. http://www.knittingdaily.com/media/p/47263.aspx It is a pattern that is for sale in a book. I wasn't willing to pay $25.00 for a book for one pattern that I was interested in, so I sorta figured it out for myself. This is a terrible picture of me, but I wanted to show you the hat.
I made it from Lion Brand Wool-Ease with size 7 dpns. I, also, had to research how to make decreases while doing a seed stitch in the round. Oy...the things I do for my mother. I did write down the pattern so I could repeat it. However I don't feel right putting it on here because I just copied somebody else's design. Besides, mine is not nearly as "polished" looking as the original. My Mama appreciated it, though. :)
Last, but certainly not least, is the newest 'hat addition' to our house. My love needed to get a second job to take care of this family. He was hired by Domino's to be a rush driver. He went through several weeks of feeling embarrassed about the fact that he had to get a job at Domino's. I, being the tender sweetheart that I am, just could not wrap my brain around what the big deal was. A job is a job. But, for him, it really mattered. He was ashamed. Something clicked last week. He noticed he was not the only late 30's man working there that worked a day job and delivered pizza's at night to make ends meet. God has touched his heart and now he is grateful for this job. *whew* I must say, I thoroughly enjoy his employee discount. :)
Be grateful....Be blessed. :)

Friday, October 28, 2011

Let's Talk About A Sweater....

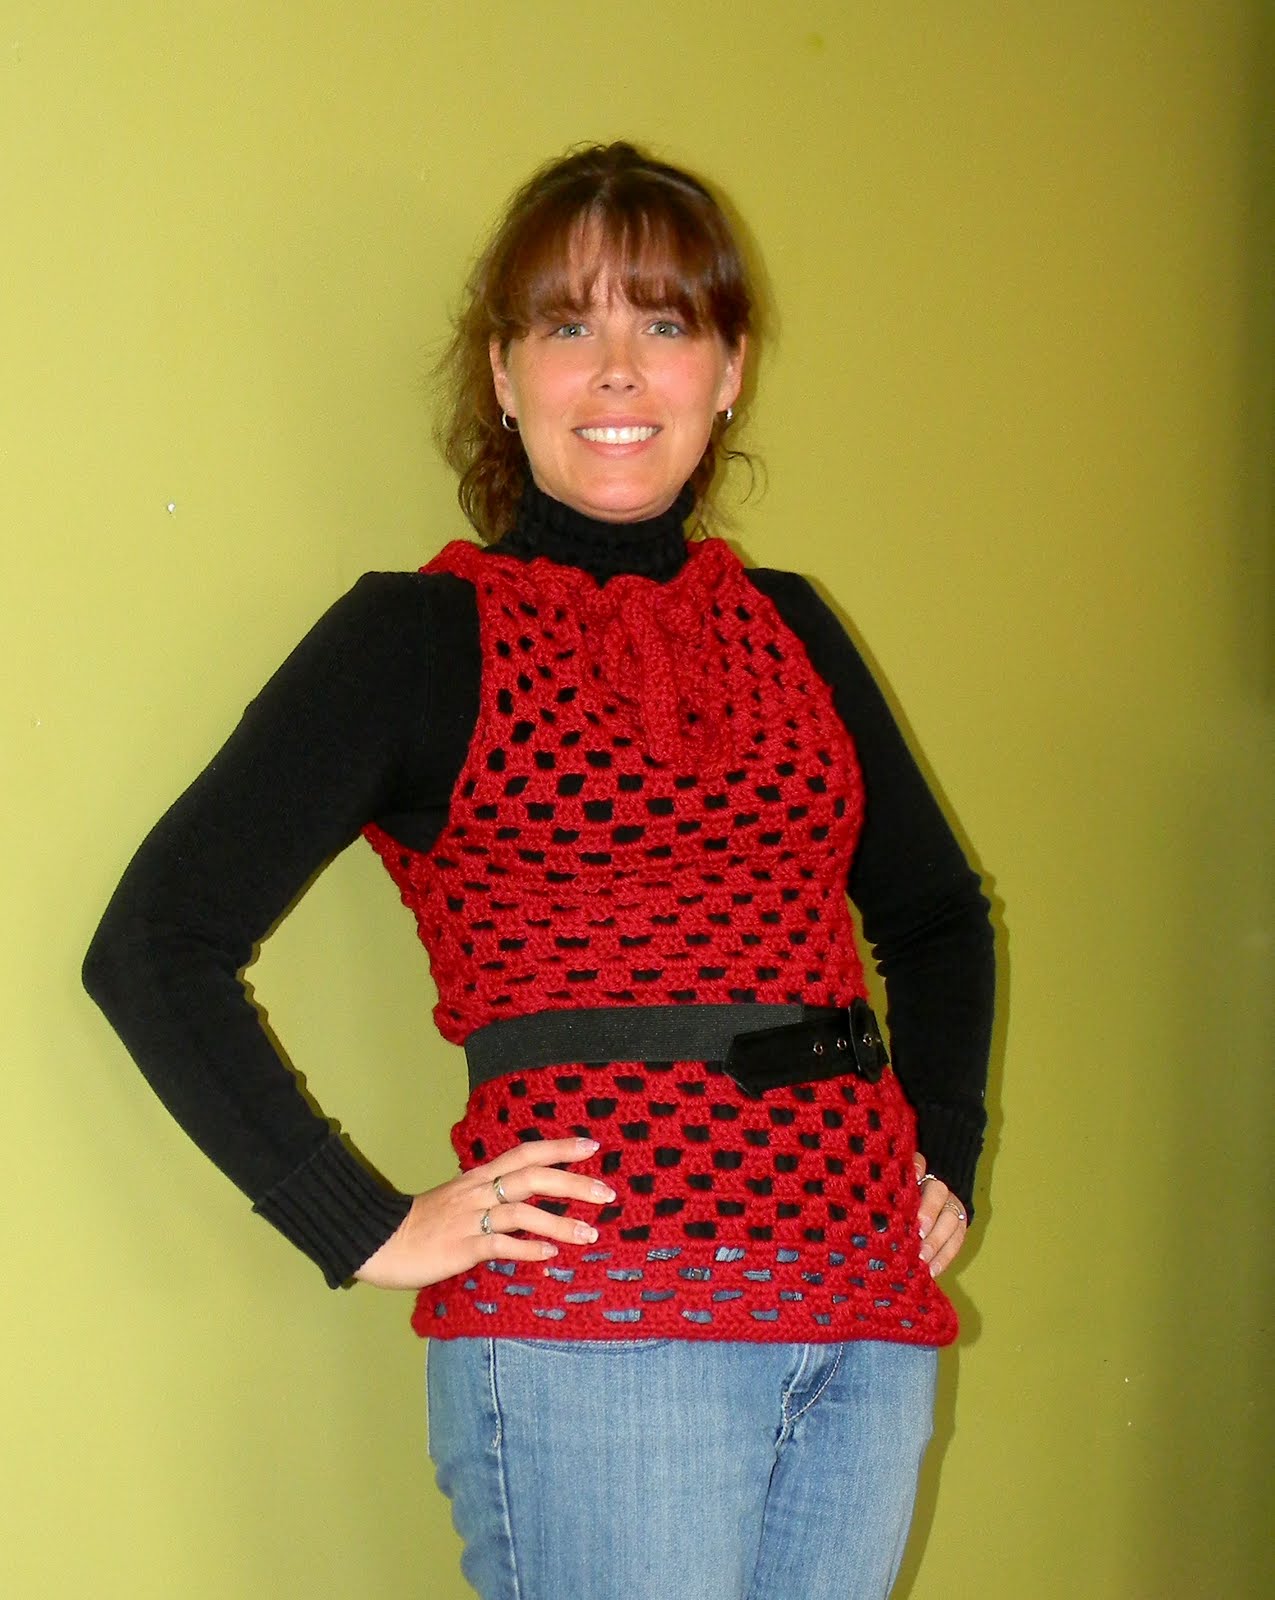
My daughter fell in love with this sweater. I probably shared it in my last post...? Maybe? Not? So I'm sharing it again. It's called the Trendy Top Overlay by Double Stitch Twins. A free Red Heart pattern.
This is the first one I made. Caron Simply Soft "Grape". Stefani wanted to step out of her color comfort zone and spice up her wardrobe. I think it turned out pretty cool. It looks great on her. :)
I posted Stefani's finished sweater on Facebook and got a great response. My girlfriend, Sam, wanted one in red. Red Heart Soft "Wine".
Then, another friend, Gillian, wanted one in Hot Pink! I haven't gotten her "model" picture, so you only get to see a closeup. Caron Simply Soft "Watermelon".
My Mother-in-law wanted one made in red too. But, she wanted a bright red. Not quite University of Wisconsin Badgers red, but something just under that. Red Heart Soft "Really Red". This red looks like wine in the picture, but in person its a lovely warm red with just a hint of gold. Quite beautiful for fall. Stefani was kind enough to model the sweater so I could send a picture to my mom in law. She came down the stairs anouncing to the house "Dang, this one looks good on me too!" Ahhh. Teenage modesty. ;)
Super easy pattern. Lots of fun to make....and it literally looks great on everyone. :) I'll post pics of Gillian and Ann when they send them to me.
Tah!

Friday, October 14, 2011

Some Pooh for You

Sharing my Pooh with you is a special thing....really. This Pooh, however, was made specifically for my cousin's wife's baby shower. They are having a little boy in December.


My daughter thought it best to strap Pooh into the seat for the ride over to the shower. Makes for a cute picture. :)


Generations 12-Inch Crochet Square | Granny Stitch CAL Pattern

  Generations 12-Inch Crochet Square: A Story in Every Stitch Some crochet projects are simply fun to make. Others have a little more meanin...